
Is Moisture Hiding Behind Your Vinyl Siding? A Halifax, MA Guide to Repair vs. Replacement
If you're asking, How can I tell if there is moisture behind my vinyl siding and do I need to replace it or can it be repaired?, this article explains what to look for, common local causes, the non‑invasive checks a contractor will use, and practical criteria that favor targeted repairs versus full siding replacement in Halifax, MA.
We focus on real decision points homeowners face before committing to a large project. Where useful we link to our siding service, local Halifax information, and example work you can browse.
Quick links
- How to spot hidden moisture
- Common causes in Halifax
- Non‑invasive inspection steps a contractor will use
- Repair vs. replace: clear criteria
- Coordinating siding work with windows & doors
- Planning your project & next steps
- FAQ
How to spot hidden moisture
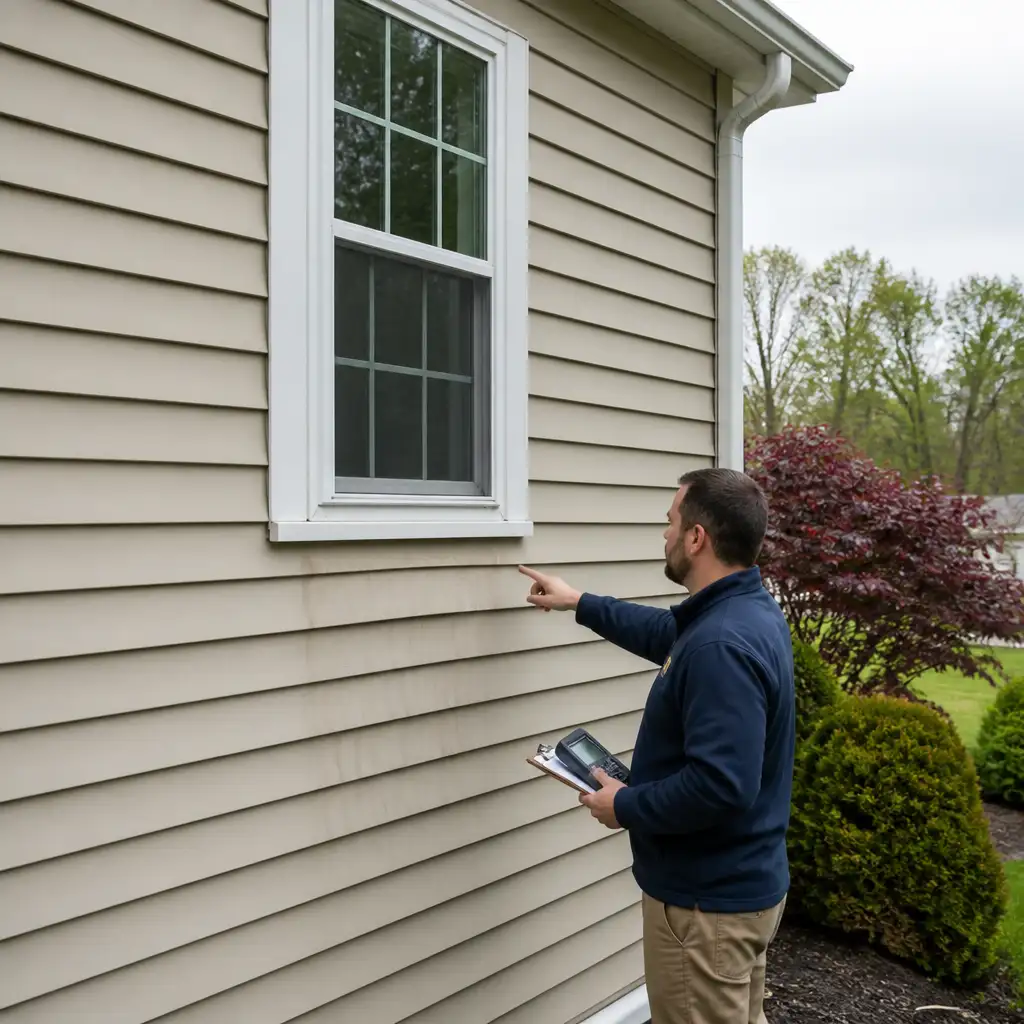
Moisture behind vinyl siding doesn't always show as dramatic stains. Watch for these accessible, observable signs from the ground:
- Soft or rotted trim around windows, doors, or corners — a common first clue that moisture has reached the sheathing or trim beneath the siding.
- Staining or dark streaks on siding courses, particularly beneath windows or where gutters discharge.
- Bulging, cupping, or uneven siding panels that don't sit flat — they can indicate trapped moisture or insulation swelling behind the panel.
- Interior signs such as localized staining on interior walls, musty odors, or peeling paint near an exterior wall; these suggest the moisture has crossed into the living space.
- Persistent damp spots after rain that dry slowly compared with other walls — slower drying is a Halifax concern in shaded or tree‑lined yards.
Common causes in Halifax
Local conditions in Halifax—dense tree cover, older gutters, close eaves, and seasonal freeze/thaw—can increase the risk that water will bypass siding defenses. Typical causes include:
- Roof runoff directed near walls (undersized or poorly placed downspouts, missing extensions) depositing water against the siding plane.
- Failed or missing flashing around windows, doors, and roof-to-wall transitions that should divert water away from the sheathing.
- Blocked gutters or overflowing leaders that let water cascade down the wall instead of away from the foundation.
- Nearby trees and debris holding shade and moisture against siding, slowing drying and concealing problem areas.
- Improper siding detailing or compromised weather barriers (gaps at trim, compromised housewrap) that allow wind‑driven rain to find a path behind the siding.
Non‑invasive inspection steps a contractor will use
A qualified exterior contractor starts with techniques that limit unnecessary disruption. Typical non‑invasive steps include:
Exterior visual and hands‑on checks
- Walk the perimeter looking for stains, warping, soft trim, and drainage issues; check gutter condition and downspout placement.
- Probe trim and corner boards gently at ground level for softness or rot — this is a low‑impact way to assess whether moisture has migrated past the siding.
Tools and targeted diagnostics
- Moisture meters used against accessible trim and sheathing edges to compare wetness zones; these give real readings without removing large sections of siding.
- Infrared (thermal) imaging to highlight cooler, damp areas on the wall surface that merit closer inspection. Thermal tools narrow down where to open a wall if needed.
- Borescope or small access through a discreet seam or behind trim to visually inspect sheathing and flashing in a localized area — this is minimally invasive compared with stripping panels across an entire elevation.
Complementary inspections
- Interior checks for stains, soft drywall, or elevated humidity near the same wall.
- Attic and roofline inspection to rule out roof leaks, ice dam history, or failed roof-to-wall flashing as the source.
Repair vs. replace: clear criteria
Deciding between targeted repairs and full replacement depends on the scope, cause, and recurrence risk. Use the table below to compare common scenarios.
| When targeted repair usually makes sense | When full siding replacement is likely needed |
|---|---|
|
|
Practical examples: If a single window flashing has failed, a contractor may remove siding locally, replace the flashing and trim, repair any wet sheathing, and reinstall siding. If multiple windows and several walls show elevated moisture readings and soft sheathing, a full replacement that addresses the underlying weather barrier and flashing details is often the more reliable long‑term solution.
Coordinating siding work with windows & doors
Moisture problems often center on openings. Coordinating siding repair or replacement with window and door work reduces rework and improves the waterproofing outcome.
- When to repair windows or doors: If the frames are sound and flashing can be restored, window trim replacement or resealing alongside localized siding repair may be sufficient.
- When to replace windows or doors: If window sills or jambs show rot, or if flashing is missing and the frames are aged, replacing the unit while properly integrating new flashing and housewrap may be the most durable option.
- Integration is key: Properly installed step‑flashing, head flashing, and a continuous weather barrier behind siding are what stop moisture from returning. Coordinate the work so that flashing details are installed before cladding is finished.
We work with homeowners to sequence work so that siding, windows, and doors are addressed together when that delivers a cleaner result and better long‑term moisture control. See our windows and doors information for details on fitting and sealing options.
Planning your project & next steps
Start with a focused inspection that documents the source and extent of moisture. A practical plan usually follows these steps:
- Schedule a professional exterior assessment to gather moisture readings and visual evidence from outside and inside the attic or wall cavities.
- Address immediate drainage issues (downspout extensions, gutter repairs, trimming back vegetation) that increase drying and reduce repeat exposure.
- Decide on repair scope: localized flashing and trim repair versus broader siding removal for barrier replacement and new flashing details.
- If windows or doors are involved, evaluate whether integration or replacement improves the overall outcome and budget efficiency.
- Ask for a written plan that explains what will be opened, repaired, or replaced, the materials and flashing details to be used, and a clear condition summary of the sheathing and trim discovered during the work.
To browse examples of siding projects and realistic outcomes, visit our siding project gallery. For location‑specific guidance and to confirm service availability in your neighborhood, see our Halifax town page: Halifax, MA. For help evaluating whether repair or replacement is right for your home, our siding service explains how we approach diagnostics and installation.
FAQ
Q: Can a moisture meter through the siding tell me how bad the problem is?
A: A moisture meter helps identify wet zones and compare areas, but it doesn't replace a visual inspection of sheathing and flashing. It's a useful non‑invasive tool to guide where localized openings or repairs are needed.
Q: If only one wall shows dampness, is a full siding replacement unnecessary?
A: Often a single affected wall can be repaired if the source and extent of damage are limited. However, the final choice depends on sheathing condition, flashing, and the likelihood of recurrence after repairs.
Q: Will replacing gutters or extending downspouts fix moisture behind siding?
A: Improving drainage is an important first step and can reduce moisture exposure, but it may not fix existing sheathing or flashing failures. A combined approach—correct drainage plus targeted flashing/trim repair—is commonly required.
Have questions about your home’s exterior? Boss Services, Inc. can help you consider the next step. Contact our team, call 508-297-0635, or email bossservicesinc@comcast.net.